We are getting a lot of interest from customers outside of the UK, Europe and North America wanting to buy CallGenie appliances. Unfortunately, neither Smart Life Solutions nor its distribution partners are currently able to ship fully configured CallGenie appliances to customers outside of the UK, Europe and North America. However, this post details how to build your own CallGenie appliance using parts readily available on e-commerce sites such as Amazon.
Even though we need you to purchase the hardware yourself and set up the mini PC, Smart Life Solutions will support you through every step in the process to get your CallGenie Appliance running for the end user. We do, however, ask that you are reasonably computer literate and you know what a USB port and an HDMI cable are.
Shopping List
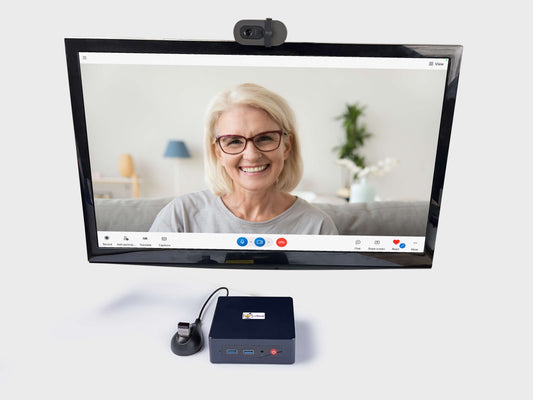
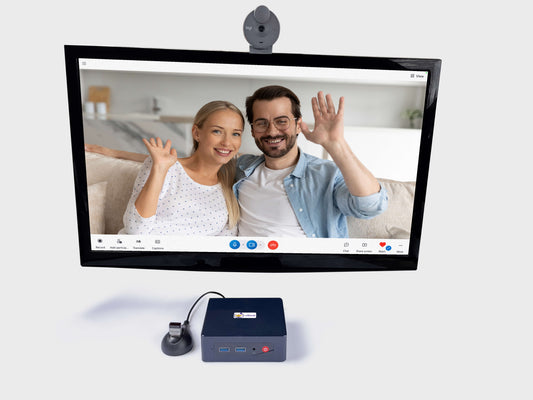
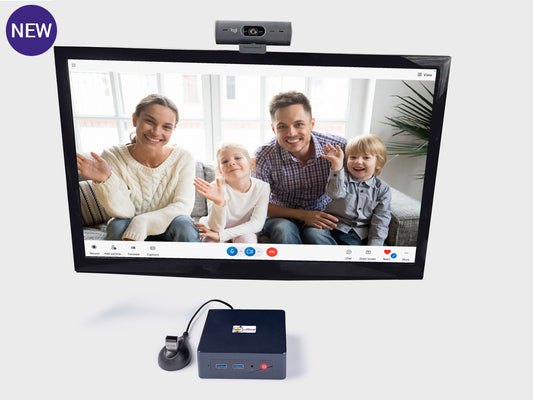
Building your own CallGenie appliance isn’t that hard if you have some basic understanding of PCs and are happy to shop online for the hardware required. The following is a list of components we recommend for customers and it will show everyone else what’s required so you can source the hardware in your own country.
It includes the following items:
- Mini PC with Auto Power On capability
- Webcam (connects via USB)
- HDMI-CEC adapter (connects via USB)
- Infrared receiver/transmitter (connects via USB)
- CallGenie Software
Click on this link to see where you can purchase all the CallGenie Parts.
Smart Life Solutions will provide you with a Hardware Installation Guide to help you attach all the peripherals. Any driver software required will be installed by Smart Life Solutions at the same time as the CallGenie Software is installed.
Setting Up the Mini PC
Once you have all the hardware in place we just need you to connect the mini PC to a monitor or television (using the HDMI cable) and attach a USB keyboard and mouse. If you don’t have a keyboard and mouse handy you might consider buying a Logitech K400+ Touchpad Keyboard.
Do not connect to the internet, yet. Ignore the instructions during the setup to connect to your WiFi or plug in an ethernet cable.
Power up the mini PC and it will to start to run you through Windows setup. After you have selected your keyboard layout, ignore the invitation to connect the mini PC to the internet, and you will be prompted to set up a local user account. Call this “CallGenie User”, or something similar, and leave the password blank (this will allow CallGenie to be automatically logged in at power up from now on).
If you are asked to create a Microsoft account, please ignore this.
To complete setup answer “No”, “Skip” or “Not Now” to every option presented to you.
Once Windows has finished its setup, and logged into the local user, you may connect the mini PC to the internet. For best performance, you should use an ethernet cable from the broadband/cable router to the mini PC. If that’s not possible you can connect using WiFi – click on the Network icon in the System Tray (bottom righthand corner of the screen by default), choose your WiFi station and then enter the WiFi password.
Now you are ready for Smart Life Solutions to help you with the rest of the installation. We will install all additional software and updates for you remotely.
Installation Service
The remainder of the installation and configuration can be performed by Smart Life Solutions via the remote access software.
Would you like to help other people benefit from using CallGenie?
Not everyone is comfortable assembling a CallGenie system themselves. Smart Life Solutions is, therefore, actively looking for individuals around the world to assemble CallGenie Appliances (hardware and software) and supply them directly to customers in their own country. If you have an interest in IT, have some spare time each week, and would like to help others less technically minded to have video calls with elderly relatives, we would love to hear from you.


